Figurative art in cold wax painting
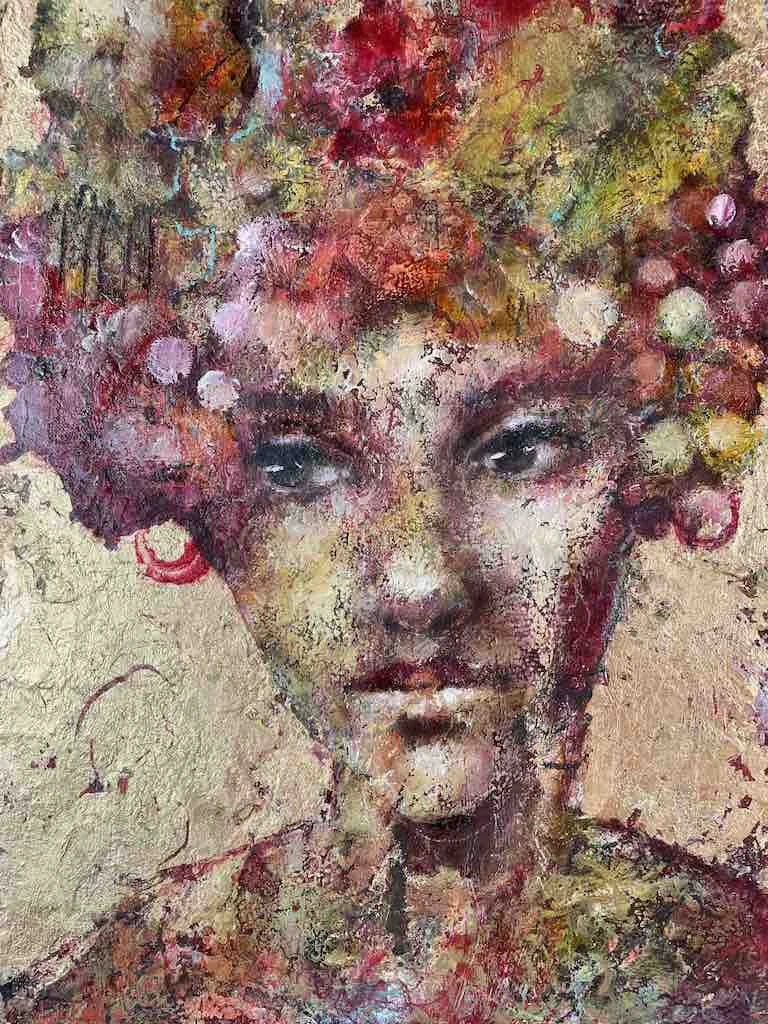
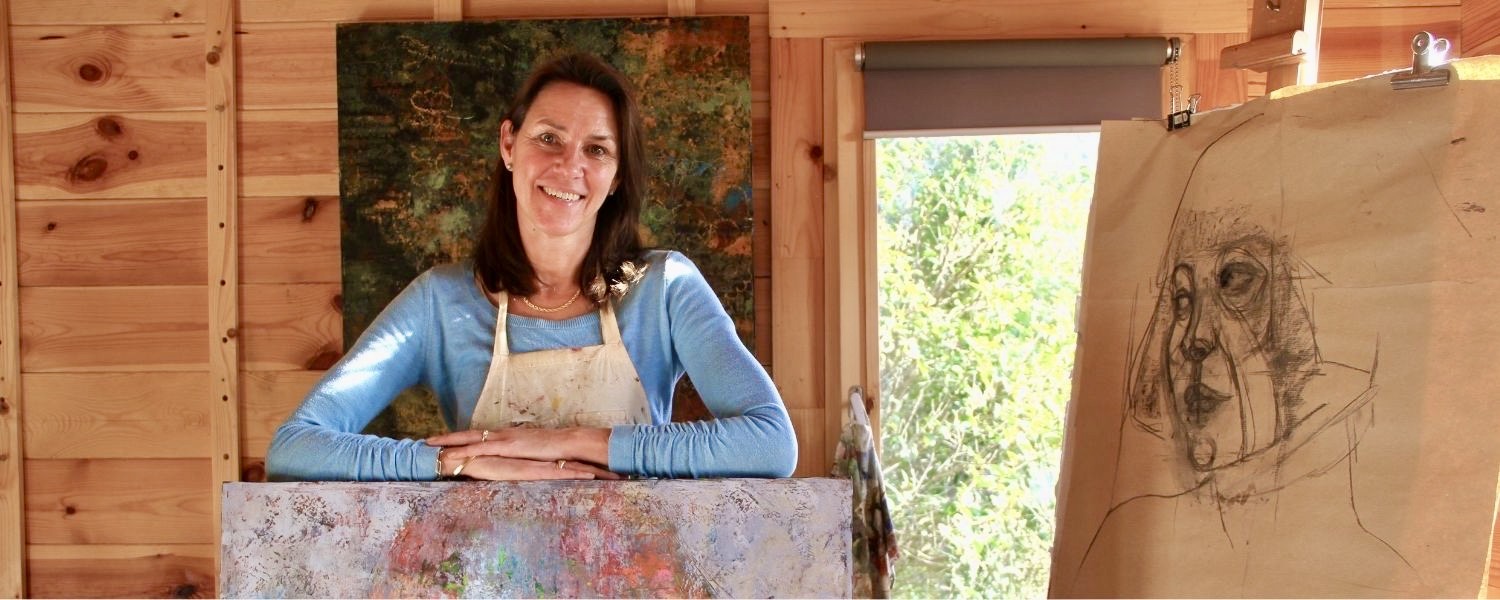
As you know I am a representational painter who loves adding figures or portraits to an abstract background, using different cold wax medium techniques. In this blogpost I will give you a sneak peek into my creative process and tell you how I paint a figure in cold wax medium and oils.
The layering process:
I always start by applying 2 layers of Acrylic Gesso to my support, which can be a cradled wooden panel, a panel or Arches Oil Paper. When the gesso is thoroughly dry, I apply my first layer of oil paint and cold wax medium, mixing 50% paint with 50% cold wax. You can use anything to create beautiful textures in this layer. I often use a stencil, stamps, a silicon oil brush or a skewer. Be creative and use anything you have at hand! I find the most wonderful texture making tools in grocery stores, drugstores or hardware stores.
Let this layer dry, usually you can work on it the next day but the drying time often depends on the paint you used, the dry/damp weather, your studio etc.
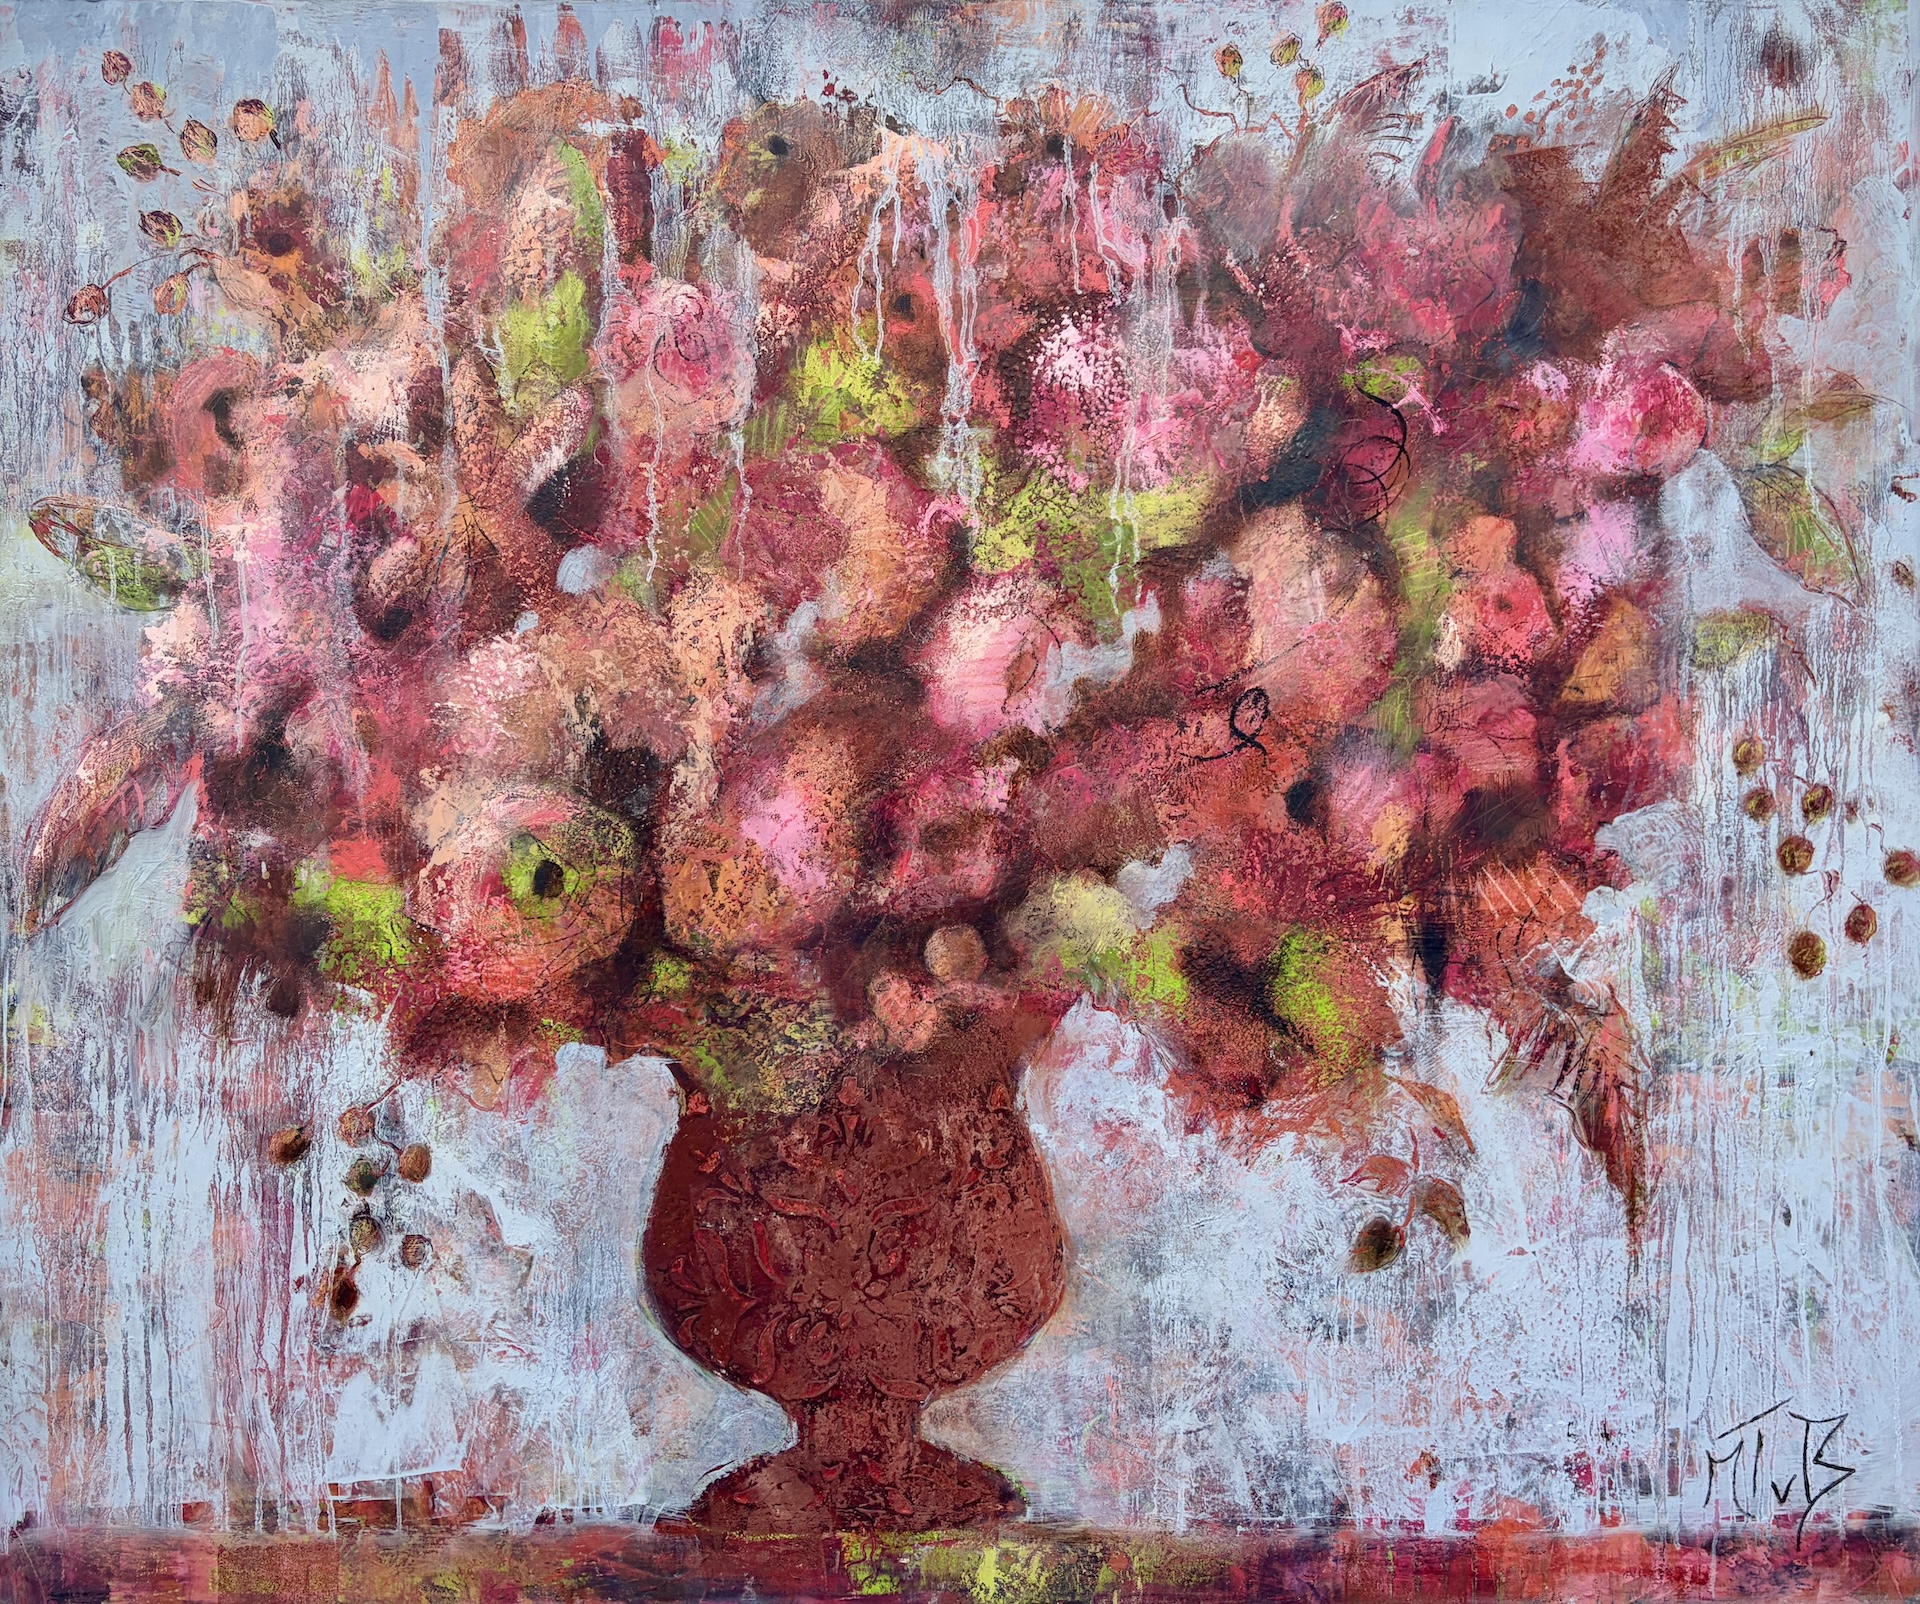
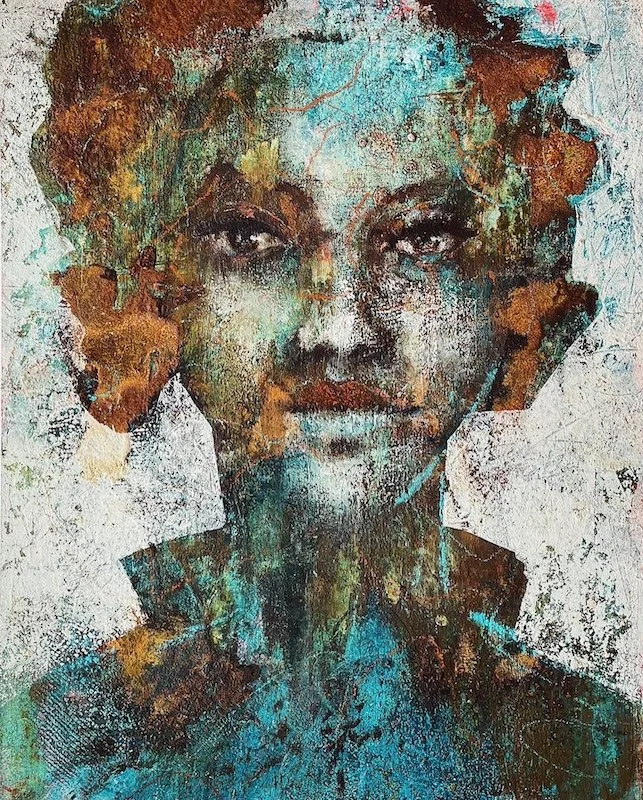
Playing with contrasting layers (cool vs warm, transparent vs opaque or light vs dark) adds interest to the painting. Although a lot is covered up in the process, some of the colours will peak through. In this painting I chose a cool colour (green and blue) because I planned my next layer to be a warm one. I can highly recommend using a colour wheel while choosing your palette.


Colour mixing like a Pro
If you want to know more about colours, colour mixing, transparent and opaque colours, check out my Colour Bootcamp (which is for any medium). While doing the exercises you will get a firm understanding of colour mixing, which colours work together, why some colour mixes turn into mud etc. and you will be mixing like a Pro at the end of the Bootcamp!
Limited Palette
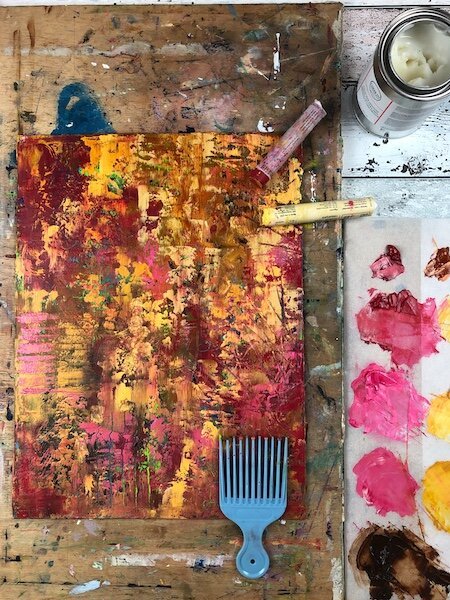
When the base layer is dry to the touch, you can add another layer. In this next layer, I use warm colours, like yellow and red.
I often work with a limited colour palette which adds to the harmonious feeling of the painting. Try using only 2 or 3 colours (and a Titanium White/Ivory Black/Titanium Buff) and you will be amazed how many beautiful mixes you can make (again, all explained in the colour bootcamp!)
You can keep creating textures, add pigments, sprinkle on some Pan Pastel.. just play!

Transferring the drawing
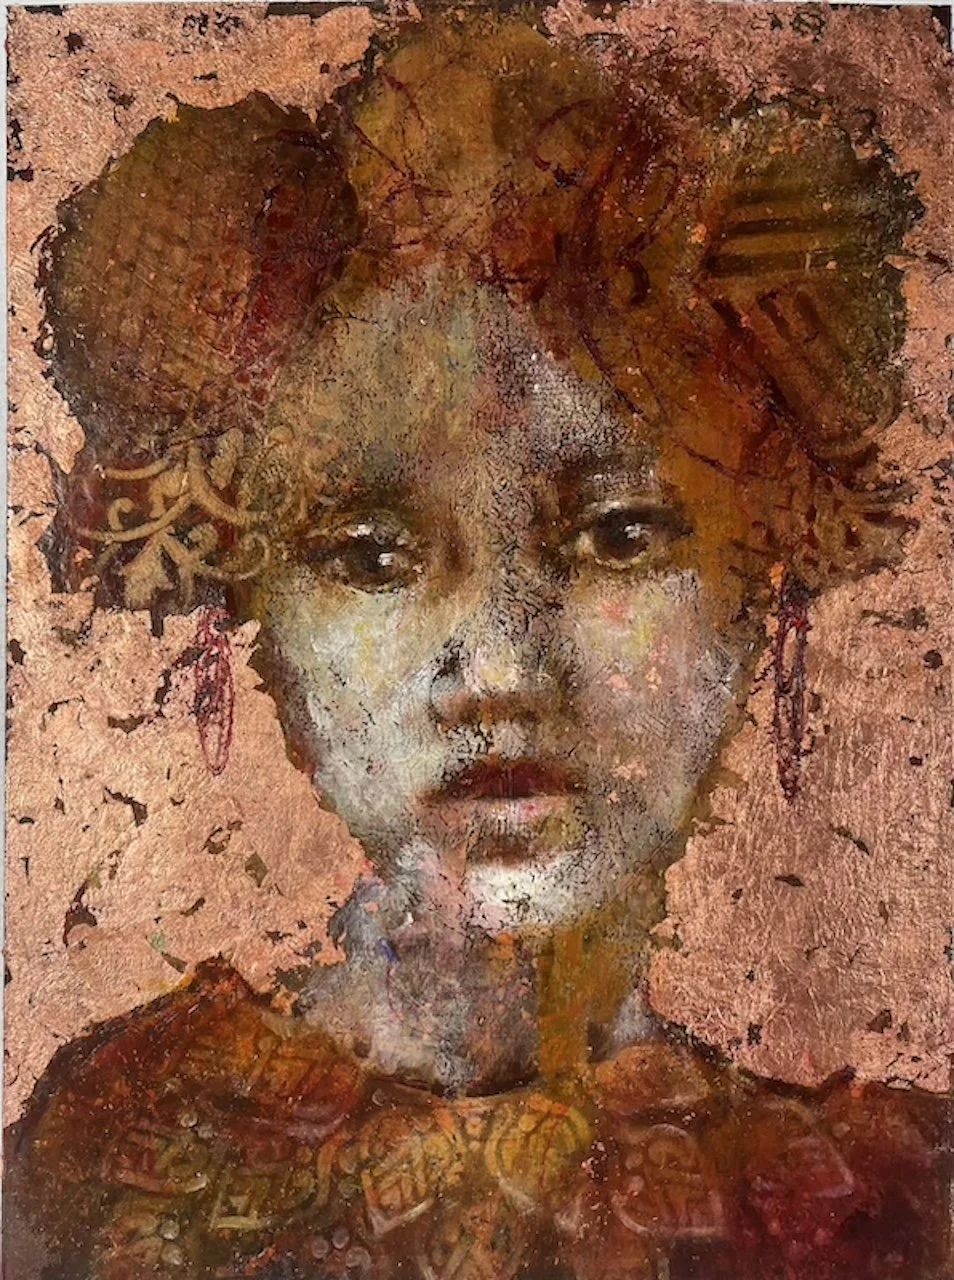
When you transfer a drawing to the substrate, your layers have to be thoroughly dry. I love drawing so I draw my figure first on paper and then transfer it to the background but you can of course draw directly on your paper/panel too.
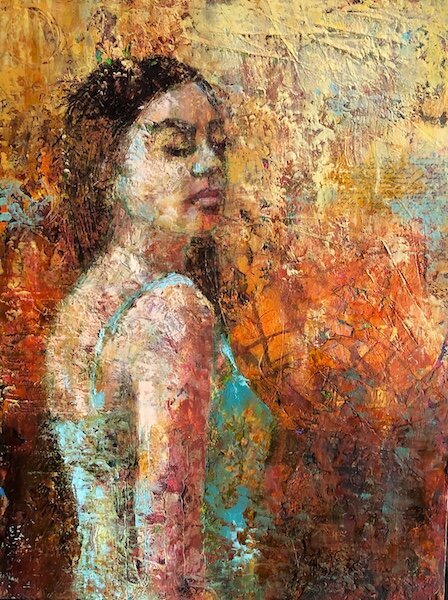
Once I have transferred my drawing, I slowly start building up the figure, looking at the lights and the darks in the reference picture. I use light and dark skin tones but also other colours in her skin and let the background shine through. You could use less cold wax in your mix if you find your mix to thick to do the detailed face or you could add Solvent Free Gel to make the mix more fluid. If you feel that the background is too busy, try doing a very transparent layer over parts of the background, that will calm it down.
Online Class on Figures and cold wax medium
If you want to learn more on painting figures in cold wax and oils, I have made an online class for you! It is called 'figures in cold wax and oils' and you can find more info on the class here:
If you have any questions, don't hesitate to ask me, I love to connect with you!
The Texture Lab
If you enjoy exploring texture and mixed media, you might also love The Texture Lab, my upcoming membership. It will be a place for creative experiments, lessons, and inspiration. Join the waitlist HERE